
Blade Application Guides / Application Guide / Surface protection converting
Optical Lens Protection Film Cross-Cutting Blades
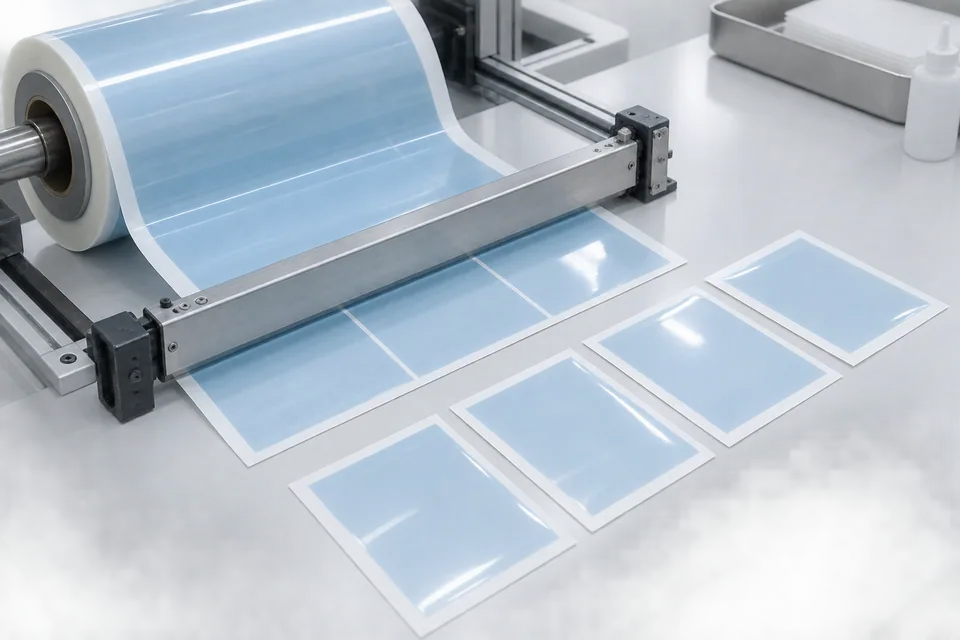
3M supplies Surface Saver Plus optical lens-processing tape in continuous rolls and describes its use during prescription lens surfacing. This is a temporary protection material, not the optical lens or its permanent coating. Rosenthal documents cross-cutting flexible film rolls into separate lengths. Here the cutter makes film or tape sections before they are applied to lenses; it does not crosscut through a protected lens. The exact tape grade, any release liner, adhesive and lens-processing step determine whether a simple rectangular section is useful or whether a different shape is needed. Crosscut inspection can detect adhesive strings or liner mismatch, but only the optical laboratory can verify adhesion during blocking and clean removal afterward.
Updated
Where This Cutting Application Appears
Set length from the lens-handling method
Ask the optical lab whether the tape is used for blocking, surfacing or another approved operation. Obtain the dispenser width, lens diameter range and handhold allowance. A rectangular blank should cover the intended zone without obstructing reference marks or a tool fixture.
Manage adhesive and backing orientation
Record roll face, liner presence and whether the lab wants separate pieces or short reels. Feed the tape without touching the adhesive or imprinting a clear face. Where a carrier stays attached, crosscut the specified layers together and confirm they remain aligned.
Inspect transverse cuts for optical-shop debris
Look for backing tears, adhesive strings, loose liner pieces and corner lift. Count blanks and measure lengths using a repeatable low-tension method. Keep cut waste away from lens-facing surfaces; a particle can become trapped under the tape during application.
Trial application and removal
Pack the sections so adhesive is protected until use. The lab should apply samples to its real lens and blocking process, then inspect edge lift, residue, marking visibility and clean peel. None of these outcomes can be guaranteed by the cutting blade alone.
Match section format to the lab dispenser
Feed several cut pieces through the lab’s applicator or handling method rather than assuming loose sheets are convenient. Confirm the piece can be placed over the intended lens curvature without a folded corner or adhesive touched by a glove. If a particular grade has a release liner, check its position; if it has none, provide another approved way to protect the adhesive. Record surface removal after the actual surfacing or blocking step.
Define the Required Cut Result
- Supply repeat tape sections for the optical workflow.
- Keep adhesive, liner and backing aligned at crosscut ends.
- Avoid particles on the lens-contact face.
- Preserve grade identity for lab application tests.
Problems to Diagnose Before Changing the Knife
Adhesive filaments bridge the cut
- Inspect blade cleanliness and cut support.
- Check the exact tape grade and temperature.
- Compare immediate and stored pieces.
Liner sticks beyond one edge
- Check web registration before the knife.
- Measure backing and liner together.
- Review feed slip at stop/start.
Tape lifts during lens processing
- Separate cutting defects from tape grade selection.
- Inspect blank coverage and application pressure.
- Ask lab to compare uncut-roll control.
Knife Forms That May Be Considered
| Possible knife form | When it may be considered | What must be confirmed |
|---|---|---|
| Supported reciprocating tape crosscut | For continuous raw optical protection tape converted to repeat lengths. | Confirm clean backing and liner separation on the actual roll. |
| Flat-sheet guillotine cut | For short pre-unwound runs with clean support. | Check length, squareness and adhesive contamination. |
Information to Send for Technical Review
You do not need to know the exact blade name. Send the available workpiece, machine, current-knife and cut-result information so the application can be reviewed against a drawing or sample.
- 3M or other approved tape grade and lot
- Lens-processing use and blocking procedure
- Tape width, liner and adhesive construction
- Blank length, handhold and mark-clearance drawing
- Crosscutter contact and cleaning plan
- Allowed strings, edge lift and liner mismatch
- Clean storage and piece-count requirements
- Lab adhesion, blocking and removal test plan
Questions About This Cutting Application
Is an optical lens cut by this blade?
No. Only loose temporary protection tape is sectioned before application.
Does every lens use the same tape grade?
No. Follow the optical lab’s approved grade and process.
Can a clear cut guarantee no residue?
No. The lab tests removal on the actual lens and processing cycle.
Why retain a liner?
Only a grade supplied with a liner can retain it; otherwise protect the adhesive by the lab-approved method.
What should the buyer send first?
Provide the chosen tape roll and the lens-process blank drawing.
Public references and scope
These public sources provide material, cutting-method or safety context for this guide. Supplier pages describe their own materials or equipment; they do not establish a MEIRENTE blade specification or performance claim. Confirm the actual grade, machine setup and required cut with a drawing or sample.
Related product and service information
- Stainless Steel Protection Film Cross-Cutting Blades - stainless steel protection film · cross cutting
- Automotive Paint Protection Film Cross-Cutting Blades - automotive paint protection film · cross cutting
- Suppository Strip-Pack Foil Cross Cutting Blades - suppository strip-pack foil · cross cutting
Request a Custom Cutting-Knife Review
Send the workpiece details, machine or holder information, current knife photos or sample, required quantity and examples of the present cut problem. Final dimensions, material, edge geometry and tolerances are confirmed from the approved requirements.